
Part 3 of 3
Enlarge
Story and Photos by Chris Helzer
Have you ever been frustrated because some parts of a photo are way too bright while others are so dark you can’t see any details? Why does the image on the screen of your phone or camera look so much less vibrant and impressive than the gorgeous sunset in front of you? Simply put, your camera doesn’t see the world the way you do.
The first two parts of this series covered the more mechanical aspects of photography, including field of view, focus, aperture and shutter speed. Mastering these is a critical part of becoming a good photographer. However, the difference between good photographers and great photographers is the way they see and use light. The two most important aspects of light for photographers to pay attention to are its intensity and quality.
Light Intensity
Your camera’s sensor can’t handle wide ranges of light intensity. When the sky is much brighter than the land beneath it, one or the other is going to look wrong, especially when there are features on land that create shadows beneath them (trees, buildings, etc.). Either the sky will be so bright that all details are washed out or the land will look abnormally dark, with completely black shadows. Your eyes actually have the same limitations, but your brain quickly compensates as you scan different parts of a scene, your irises growing and shrinking as you do so.
The easiest way to avoid problems with light intensity is to shoot when the sun is not blazing at full strength in the middle of the day. When the sun is super bright, the contrast in tone between brightly lit and shadowed areas is well beyond the range a camera’s sensor can handle. We’ll talk more about that below. Sometimes, however, the events you want to photograph happen during periods of high light intensity and you just have to deal with it.
One strategy is to select parts of the scene that eliminate either the darkest or brightest parts. For example, you may be able to photograph a landscape from a high point where you can point the camera down enough to either eliminate or greatly reduce the amount of sky in the photo. The amount of contrast between the brightly lit and shadowed part of the landscape may still be problematic, but at least you don’t have to worry about the even brighter sky itself. Another option is to move in closer and focus on only the shadowed or brightly lit portions of a scene, rather than trying to incorporate both.
Often, however, even with those compensating strategies, you’ll look at an image on your LCD screen and see that you’re losing either the highlights or shadows. If your camera shows you the histogram (a graph of captured light intensity) for each image, you’ll see that one of the two “tails” of the graph are outside the histogram frame. If you can adjust exposure to get both tails in the frame, you’re golden. If you can’t, your best option is often to “shoot dark” by adjusting exposure so the details within the brightest parts of the scene are captured, regardless of how dark that makes the shadows.
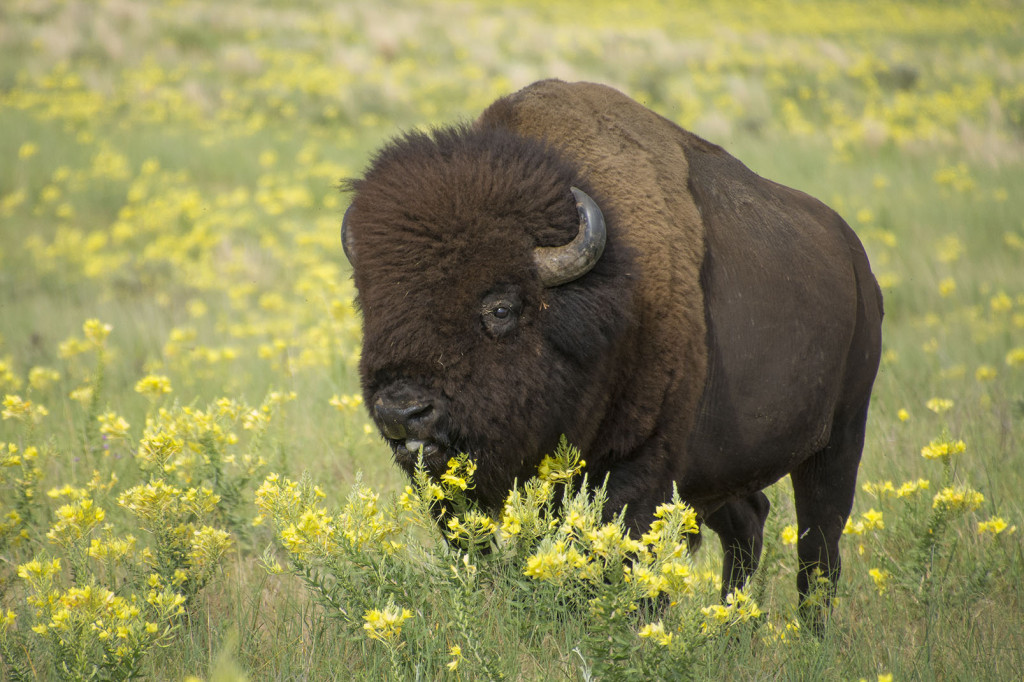
Later, you can use whatever photo editing software you have access to and try to recapture some of the details in those dark shadows. In order to “shoot dark,” of course, you have to understand how your camera reads light and how to control that process. Whether you use your phone or a high-end digital SLR camera, your camera’s light meter is designed to create images with a nice middle tone — not too bright, not too dark. Much of the time, that’s really helpful, whether you’re allowing the camera to set exposure for you or doing it yourself. However, the “middle tone” attitude of your light meter can create problems when you want to capture photos with more dramatic lighting, or when the subject itself is naturally brighter or darker than a middle tone (snow, white flowers, the face of a bison, etc.).
Most cameras allow for some kind of “spot metering,” with which you can select which part of a scene you want your camera to gauge light intensity. When light intensity isn’t crazy high, spot metering means you can select the part of the scene you want to be a middle tone and set your exposure based on that. Or, you can select something that you want to be brighter than middle tone (snow, for example) and adjust your aperture/shutter speed settings to brighten the image more than the camera’s meter would recommend so the snow looks white instead of gray.

When you have a situation with intense light and high contrast, though, you can meter off the brighter areas and adjust exposure settings so it is captured as a middle tone. That will make the rest of the image dark, but you can “fix that in post.” If you don’t have time to mess with a spot meter, or your camera doesn’t give you that option, another strategy is to make sure the sky makes up more than 50% of the image. Most cameras, when allowed to make exposure decisions by themselves, will try to make sure the majority of an image is a middle tone, so if most of the image is bright sky, the sky will look OK in your photo, but shadowed areas below will look very dark. That’s the best you can do in that situation.
As mentioned earlier, the best way to avoid issues with excessive light intensity is to avoid shooting when the light is too bright. The clear blue-sky afternoons so often rhapsodized about by many people are actually the worst-case scenario for photographers. Early mornings, evenings, and bright overcast periods produce much less intense light, giving your camera a chance to capture the entire range of tones in a scene. Coincidentally, those periods are also when the light quality tends to be highest as well.
Light Quality
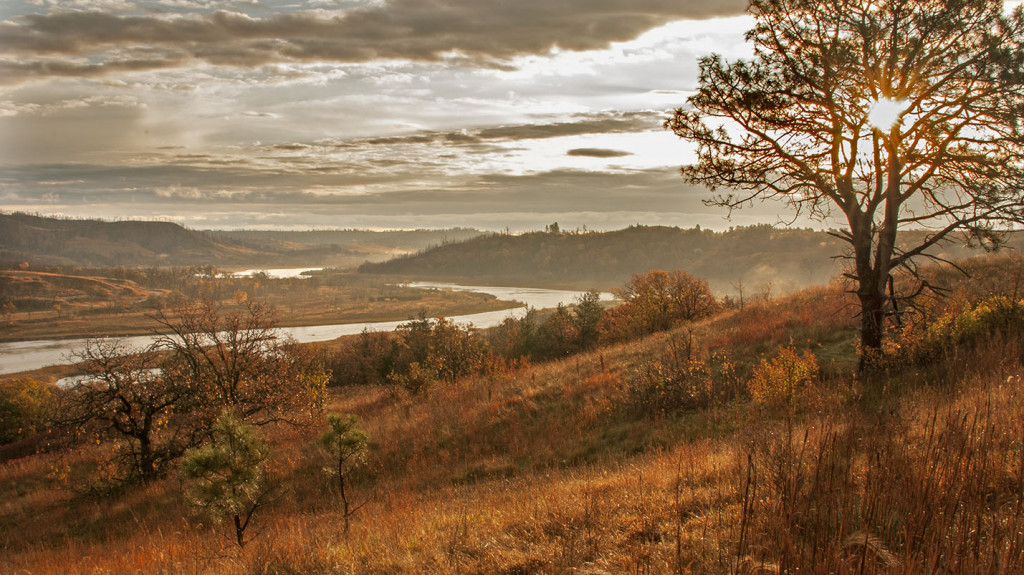
There are several factors that contribute to good light quality in photography. Intensity is an important one, but two others are color and direction. In outdoor photography, color is determined by the path the sun’s rays take on the way to your subject. Early and late in the day, when the sun is low in the sky, it usually has a golden or reddish appearance because of how much of the atmosphere its light passes through before you see it. During the middle of a sunny day, that light is very white, as well as bright. The color of the light hitting a subject influences the color bouncing off that subject — which is what your camera captures. If you look at the sun (don’t look at the sun) and see color, that color will show up in your photo too.
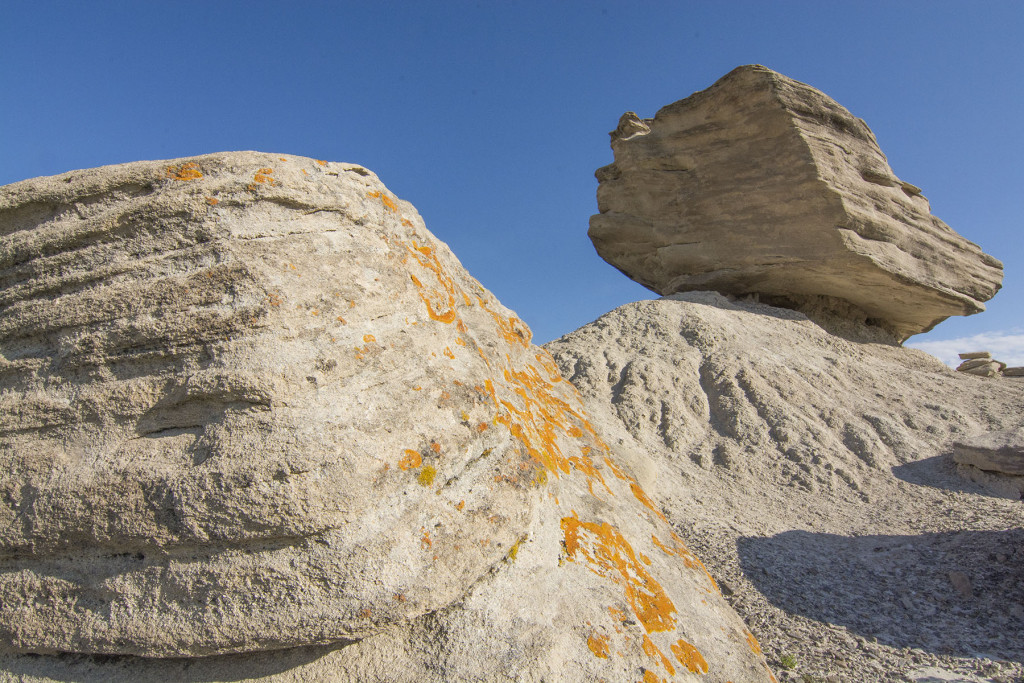
Bright overcast light is coveted by many photographers because it creates beautiful even lighting on a subject. When the sun passes through clouds but still creates faint shadows, it creates the kind of diffused light that portrait photographers pour lots of time and equipment to creating artificially. Bright overcast light is fantastic for close-up photos with gorgeous saturated color and fine detail, as well as for portrait-like photos of certain subjects. It works less well for large landscape photos because the lack of contrast across the scene can make it look relatively flat. In addition, if the sky is included in a landscape photo, it usually comes out as a vast expanse of boring monotone light gray.
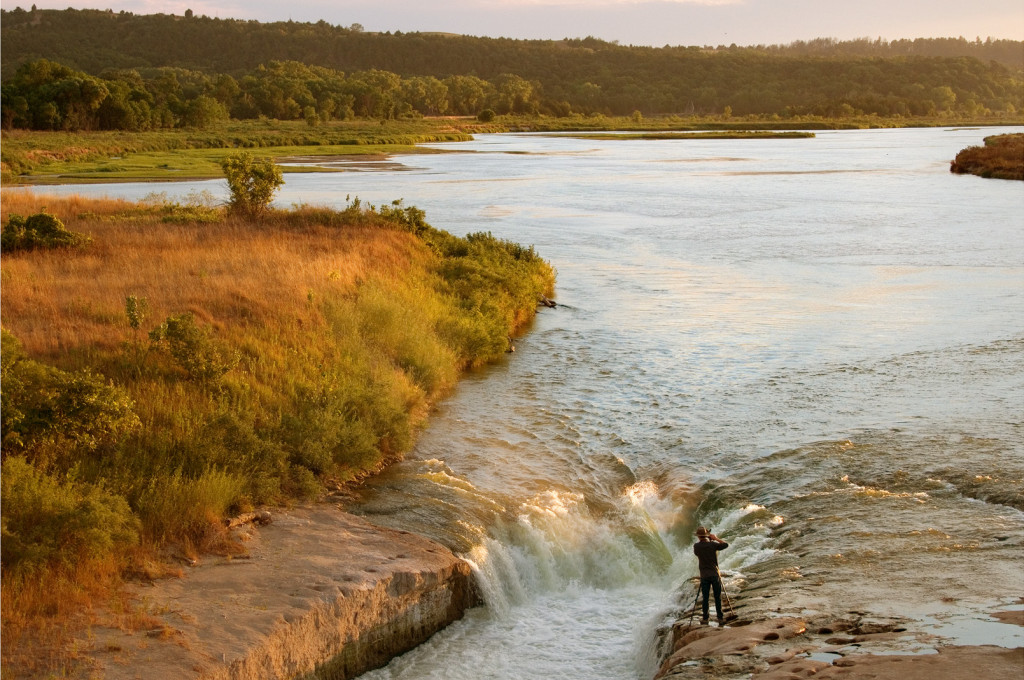
In addition to color and diffusion, the orientation of the sun’s rays relative to you and your subject also are important. A subject or scene looks very different when the sun is behind you, versus in front of you. Much of that is determined by the number and size of the shadows visible in the image. While photography is simpler when the sun is directly behind you, some of the most striking photographs are made when it’s not.
Shadows help define texture in an image. When the sun is behind you, the shadows are behind the subjects you’re photographing, making the scene look relatively flat. However, when the sun comes across the scene from the side, the resulting shadows emphasize the contours and patterns in the photo. When that light is too intense, shadows can be problematic, but when the camera can pick up both the bright and shadowed portions of a scene, those shadows can be advantageous.
Photography while facing the sun is tricky, but can be worth experimenting with because of the potential for spectacular results. Sunlight hitting the face of your lens can cause “lens flare,” which creates spots or patterns that can be distracting and unsightly (but sometimes attractive). Those can be minimized by making sure the lens is clean, varying the angle of your shot, and/or shading the lens surface with your hand or a lens hood. There are lots of ways backlit scenes can fail, but if you’re shooting with a digital camera, it doesn’t cost you anything to experiment.

If you learn to recognize the intensity and quality of light, it’s relatively easy to figure out how to use that light effectively. It’s not impossible to create striking images in bright mid-day light, but it can be a real challenge to find appropriate subject matter and deal with problematic contrast issues. Alternately, when golden sunlight courses across a landscape from a low angle, creating soft shadows and warm highlights, making beautiful photographs is a lot easier. Any photographer can get lucky and take a spectacular photo now and then, but a technically savvy photographer who understands light can do it consistently.
You and your camera see the world differently, but if you understand those differences, you can take control of how your photographs turn out. No matter what kind of camera you have, the basics of focal length, aperture, shutter speed, depth of field, and light are the same. It’s ok to let your camera automatically control some of those factors, as long as you understand what it’s doing and when/how you might want to override it. Your camera can’t get you up early to photograph the sunset or help you sneak up on a bobolink, but once you’re in the right place at the right time, your camera can help you make spectacular images. ■
The post Your Camera Doesn’t See Like You Do appeared first on Nebraskaland Magazine.


