Enlarge

Story by Renae Blum. Photos by Dawn Downey.
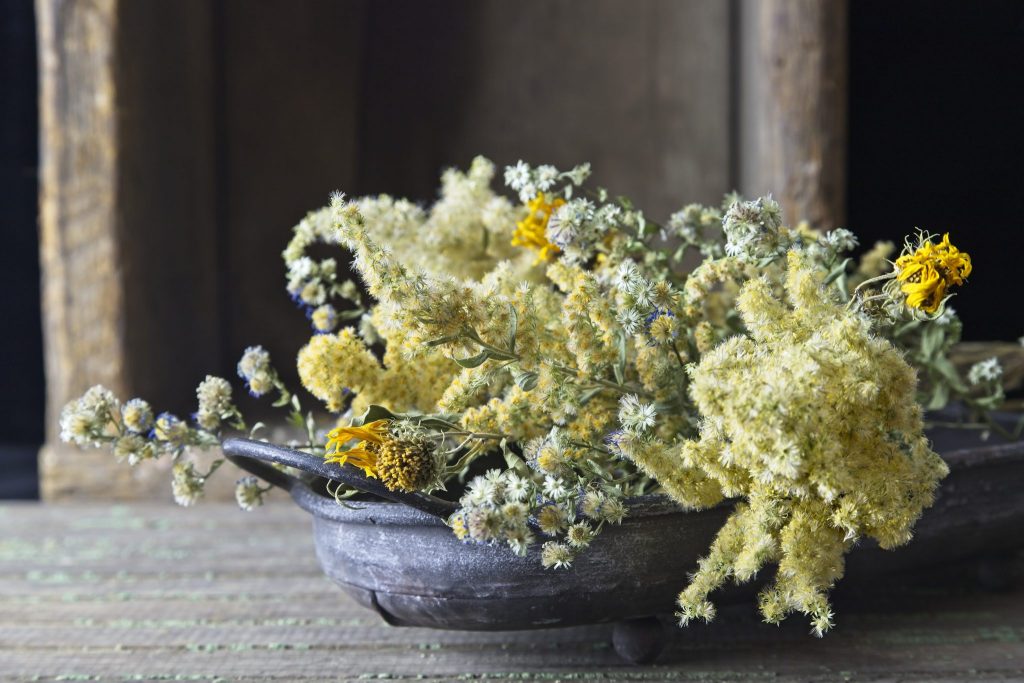
Native flowers and plants aren’t just great gardening choices; they also make stunning dried arrangements that are both fun and easy to create.
Mary Jane Frogge, a horticulture expert with Nebraska Extension, sat down with me to share the process. The following are her words, edited for length and clarity.
– Renae Blum
The Process
It’s good to collect flowers when they’re at their peak of bloom, so you have nice color. With grasses, the main thing is to pick ones that aren’t over-mature, so they don’t fall apart when you hang them.
Try to collect as long of a stem as possible. To cut, use hand-held pruners, the sharper the better.
Now strip the leaves off with your hands or with gloves and bundle the stems together. You want to bundle only about eight to 10 stems to make sure they dry nicely.
Then tie them together. A rubber band seems to work the best (and is easy to hang), but you can use twine if you like.
Once the plants are bundled, attach them to a hanger or hook to dry. You want to make sure they hang straight, in an out-of-the-way place so that you don’t bump them. Pick a drier, warmer room out of direct sunlight. Depending on the size, it’ll take six to eight weeks for the bundle to completely dry.
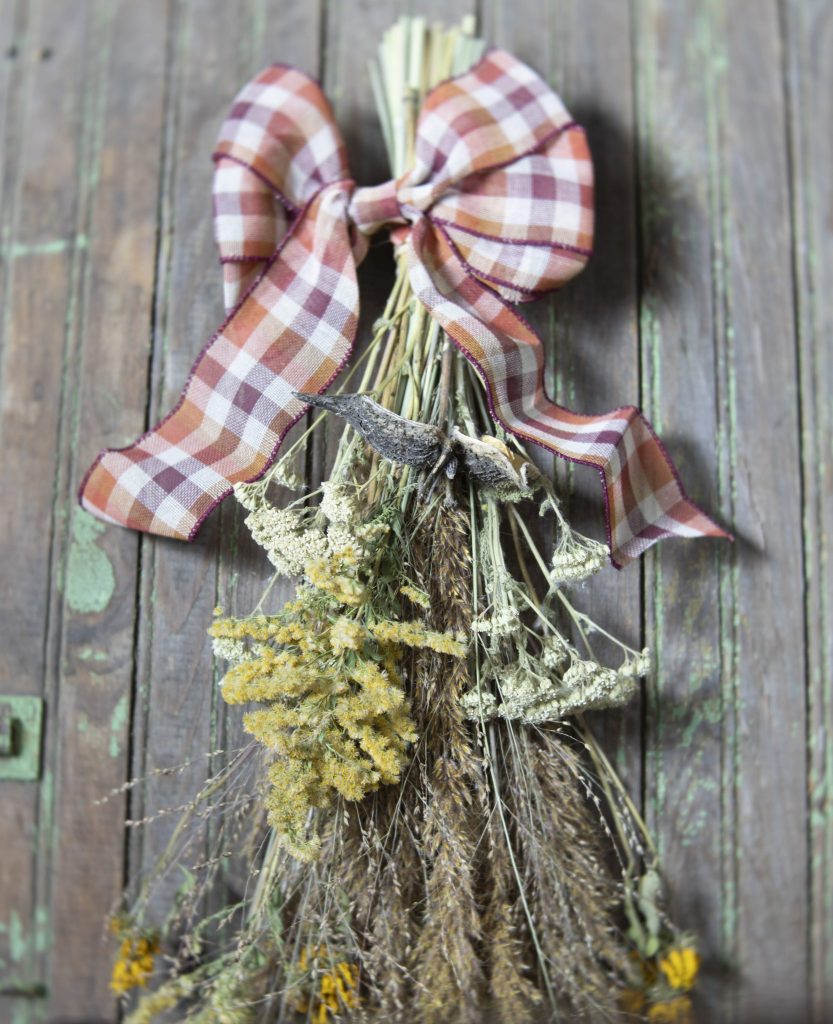
You can make many types of arrangements with your dried materials. I will describe how to make a swag arrangement you can hang on a door or wall. First, take the dry plants, lay them on a table and arrange them. Start with the dried grasses and fill in with the flowers. Keep adding until you have an arrangement you are happy with.
Cut the stems so they are all the same length, then bundle tight. I like to use rubber bands because they hold better, but you can also use wire. To hang your arrangement, you can make a wire loop to hang from a hook or nail. You can add ribbon, too, to finish it off.

Other Tips
• I encourage you to grow native plants. It’s good for pollinators and it’s good for you. Plant in groups with blooming periods all throughout the spring, summer and fall, and collect continuously throughout the year.
• You don’t have to use flowers or grasses; you can also use pods, nuts and even branches from a ponderosa pine.
• Go to a florist’s shop or look online to get ideas for arranging. There are so many options.
• I would plan for the arrangements lasting about a year, because they do tend to break apart eventually and lose their color.
Final Thoughts
Why try this? Because it’s fun! It gets you outside – it gets you out there looking at what plants you have and maybe encourages you to plant more native plants. This would be a great activity for kids, because they’re always collecting things and bringing them inside.
Dried flower arrangements you make yourself are less expensive, fresher and of better quality than store-bought ones. There’s also a satisfaction that you collected them and grew them from your own garden. I think that makes it more personal. ■
What Plants to Use
These native plants hang-dry well. Read on to find out the best time for collecting.
June: Larkspur (Delphinium), yarrow (Achillea millefolium), Queen Anne’s lace (Daucus carota).
July: Bee balm (Monarda), purple coneflower (Echinacea), hoary vervain (Verbena stricta), gayfeather (Liatris), lead plant (Amorpha canescens).
August: Pitcher sage (Salvia azurea), purple lovegrass (Eragrostis pectinacea), sideoats grama (Bouteloua curtipendula), little bluestem (Schizachyrium scoparium).
September: Goldenrod (Solidago), prairie dropseed (Sporobolus heterolepis), big bluestem (Andropogon gerardi), Indian grass (Sorghastrum nutans).
The post Do-It-Yourself Dried Arrangements appeared first on Nebraskaland Magazine.


