
Your adrenaline is still pumping. You are a deer hunter, and you have just harvested a very nice white-tailed buck, or perhaps a gorgeous doe. Now, you have the opportunity to capture the moment for all of your friends, family and others to see. With due diligence, you can ensure the moment is preserved in a quality harvest photo!
Many of you will soon be highlighting the harvest of big game hunter you know in Nebraska with their first deer, massive white-tailed or mule deer buck, or a beautiful doe with a camera. Most likely the photos will be snapped with your Smart phone, I-phone or similar device to immediately share with everyone on social media sites. So, I ask you: How much care will you actually put into that deer photo for all to view?
I despise the bloody, pick-up truck bed photos of field-dressed deer laying amid crushed aluminum cans, wrinkled fast-food sacks, etc. or those pics snapped in the garage with a deer carcass hanging from the rafters with old cardboard boxes, cans of motor oil and tools in the background.
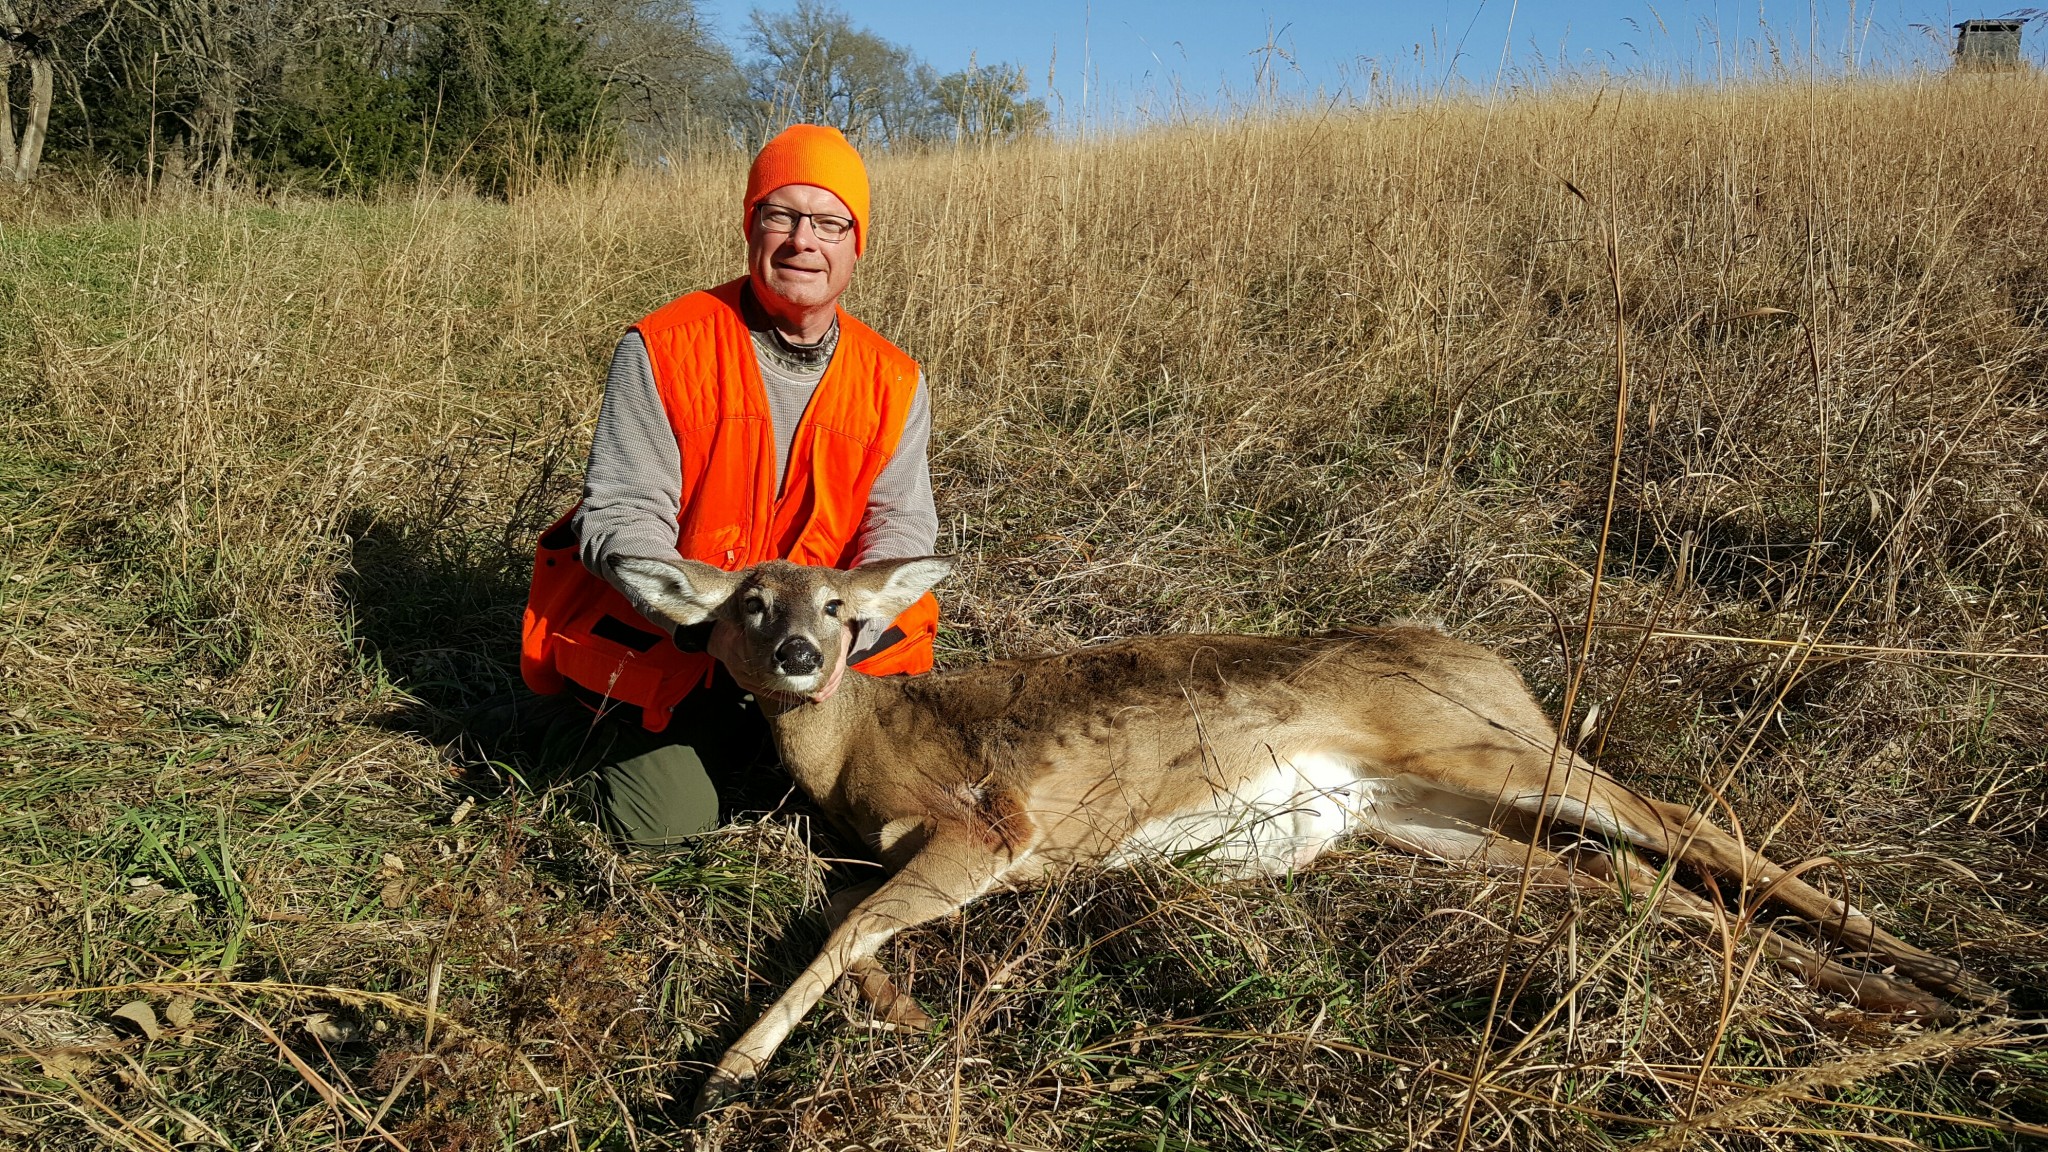
Harvested deer are to be admired, respected and valued, and they look the greatest when cleaned up a bit and photographed naturally in the habitat in which they were taken.
Award-winning NEBRASKAland Magazine photographer/writer Eric Fowler along with myself offer these excellent tips on how to best photograph a harvested deer.
*Take photos after cancelling tag, but before field dressing. Properly cancel your tag/permit after checking to see if your deer is deceased. Then, take photos before field dressing it. Doing otherwise often results in a bloody mess that detracts from the photo. This means always having a camera with you or using the camera on your mobile device. Disposable cameras, work, too.
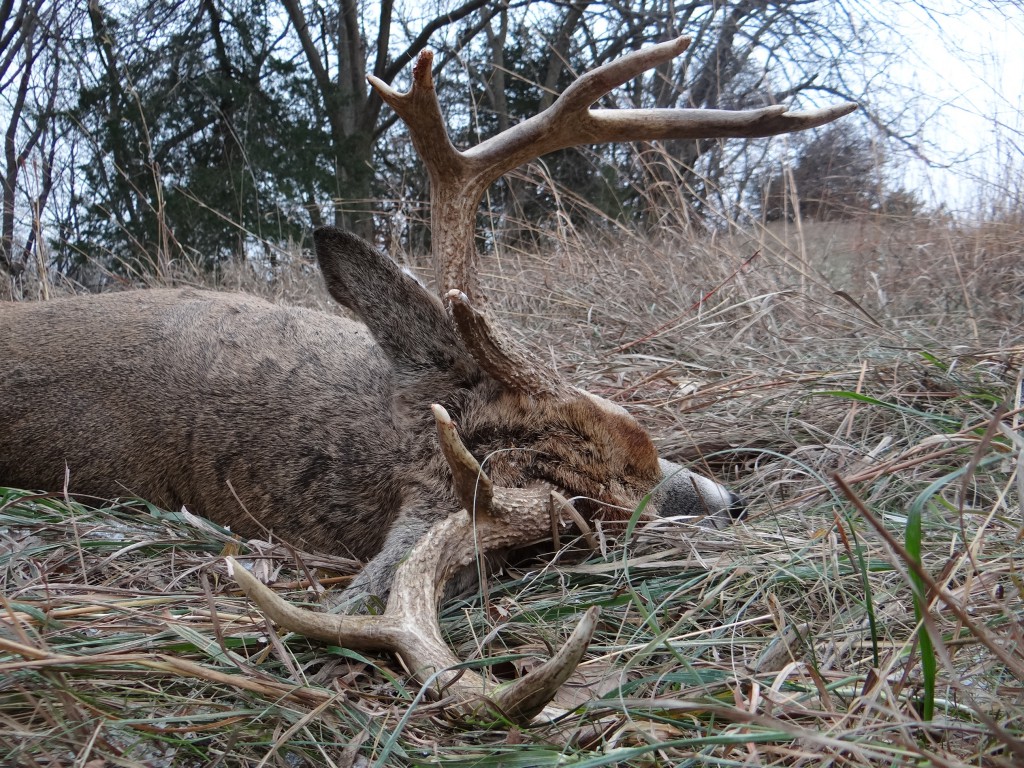
*Show the habitat you hunted. Find a suitable spot that is the essence of the terrain and habitat you hunted, but don’t let the habitat obscure your pic.
*Clean the animal. Clean the blood from the deer’s mouth and nose if present. Remove dirt, leaves, blood, and saliva from yourself, the hunter, and the deer. Try to smooth ruffled hair and remove clutter from the foreground and background. Make every attempt to face any large exit-wound areas away from the camera. Consider using the editing capabilities of your digital camera, camera phone or computer.
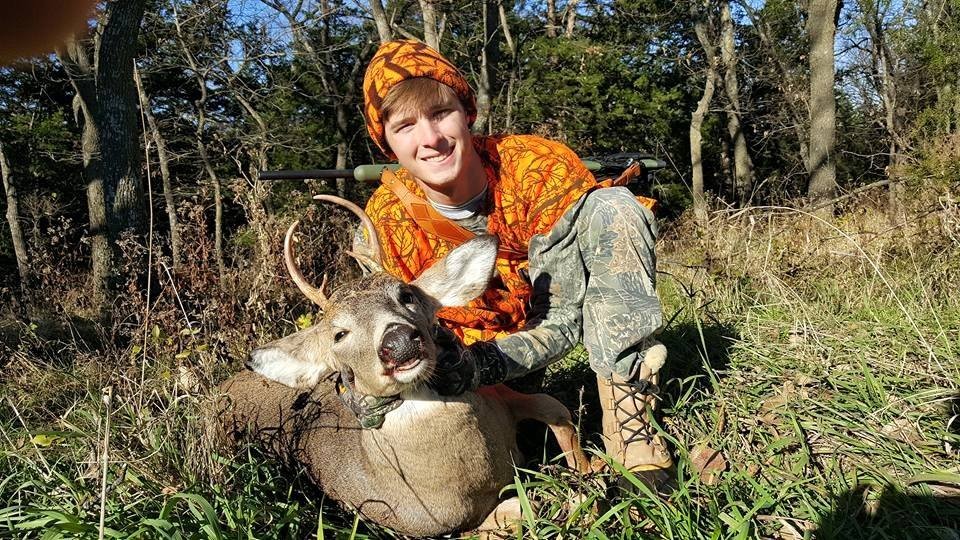
*No tongue! Put the deer’s tongue back in its mouth. Sure the animal is dead, but it doesn’t have to look that way.
*The antlers are not a gun rack. Don’t rest your gun or bow on the deer’s antlers. Some may call it a rack, but no one calls it a gun rack. It’s disrespectful to the animal.
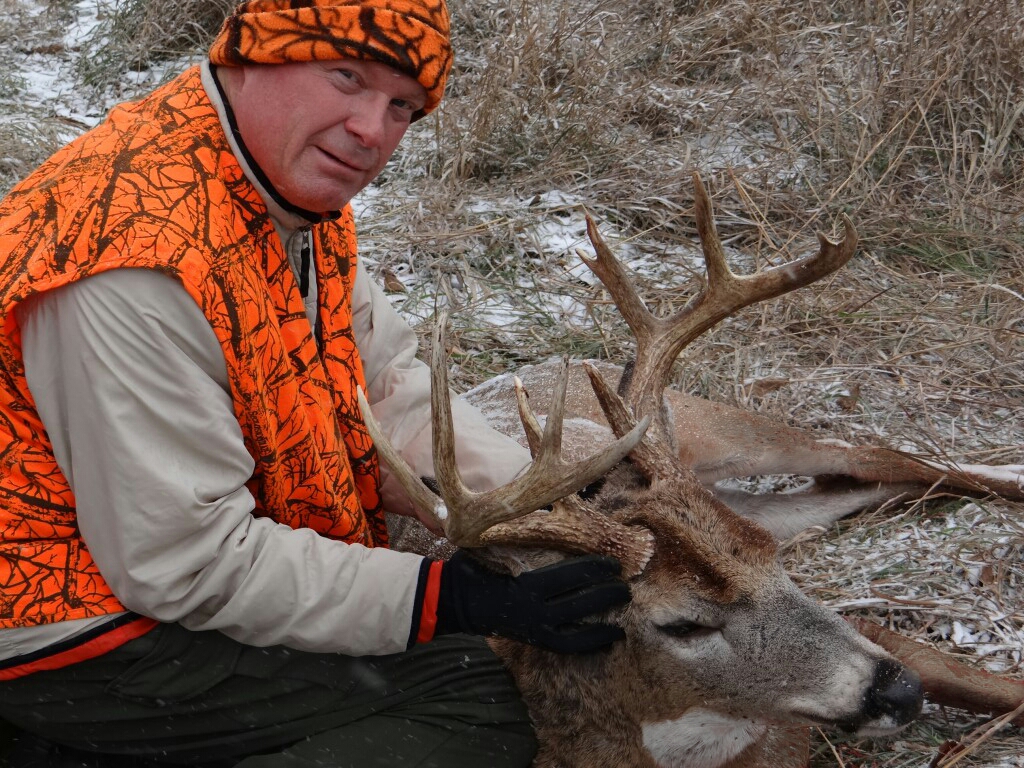
*Be next to your deer, go low, no straddling and smile. Some hunters like to stand an arm’s length behind the animal to make the antlers look bigger. In reality, this fools no one and only makes the hunter look smaller. What does work well is to shoot pics from a low angle where you’re even with, if not below the animal. This can help to enhance its size somewhat. Also, don’t straddle big game. Remember, it’s not a horse. Show respect by kneeling beside or behind the animal, and smile.
*Note the sun. Pay attention to the angle of the sun when setting up the photo. Your best bet is to have the sun over one shoulder or the other of the photographer. An exception to the rule is at sunset, when you can use a colorful sky as a background and use the camera’s flash to illuminate the hunter.
*Shoot pics during the softest light. Take photos with or of your deer early and late in the day. From late morning to late afternoon, avoid direct sunlight. Pose in full shade, if possible, (not mottled sunlight), and use a flash.
*Use fill flash or tip the hat up. Utilize a fill flash to open the shadow cast on a hunter’s face by their hat. If your camera doesn’t have a flash, have the hunter tip their hat or cap up.
*Skip the tight focus. Always leave plenty of space around the subject when it comes to snapping photos of a big game animals. Keep in mind that you can crop the image later if need be.
*Shoot lots of different pics. The old saying is “film is cheap.” In the digital age, it’s been revised to “pixels are free.” Take lots of photos from a variety of angles: high, low, left, right and up close. Horizontal photos can include the front half of the deer’s body or the entire deer’s body and surrounding landscape. Verticals can zoom in on the deer’s head and/or shoulders.
Quality deer harvest photos snapped with a simple camera can make any hunter proud. Really, all it takes is a little extra time and effort plus a touch or two of creativity after the harvest to give that animal the admiration, respect and value it deserves!
The post Admire, Respect, Value Harvested Deer with a Quality Photo appeared first on NEBRASKALand Magazine.


