
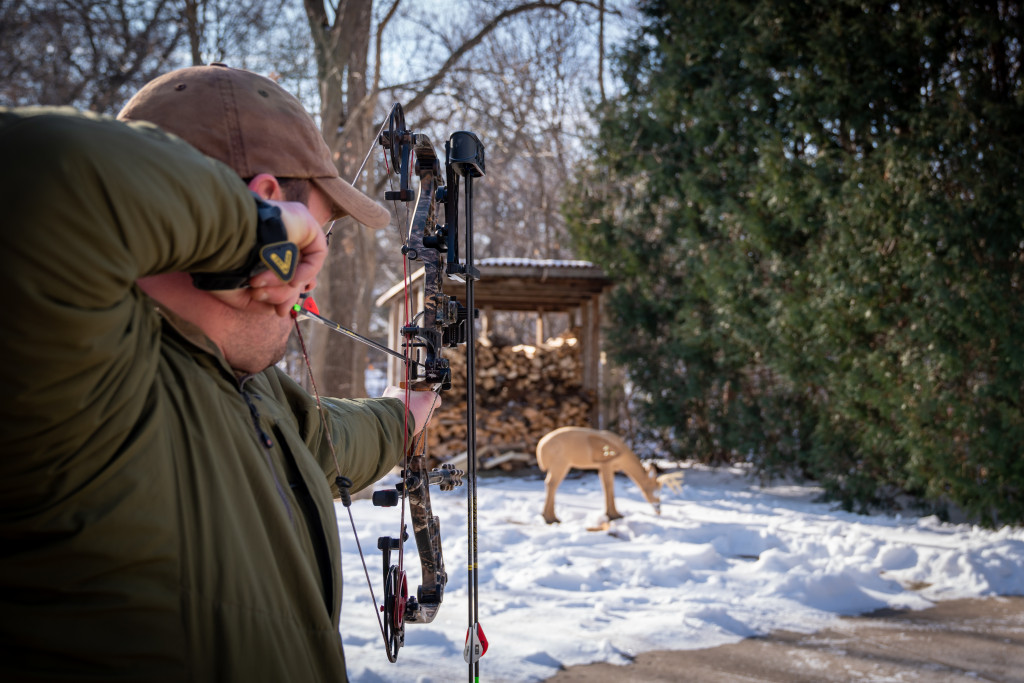
Proficiency on a foam block doesn’t always translate to real hunting scenarios during the season.
Enlarge
By Ryan Sparks
Too many archery hunters practice archery and not bowhunting. Setting a foam target in the yard, walking back to a premeasured distance and flinging arrows all summer is good practice for hitting a foam target, but climbing into a blind for turkeys or a tree stand for deer is completely different. Being an effective bowhunter is about what you do with the shots you are presented, and shots in the field are rarely ideal. How many times have you had a deer walk into your shooting lane, stop perfectly broadside, look the other direction and stand still for several minutes? Proficiency on a foam block doesn’t always translate when you draw back on what might be the one opportunity you have in a season. Here are some hunting-specific practice tips and drills you can do to prepare for hunting season.
The Obstructed Shot
It seems like while bowhunting you are always worried about a twig, branch or rock deflecting your arrow, so it makes sense to practice for these situations. Your arrow makes an arch when it leaves your bow and understanding this arch is the key to shooting past obstructions. On a bow with a multi-pin sight, a good way to learn the arch of an arrow is to look at the pin spacing once the bow has been sighted. There might be a branch over a turkey’s vitals in your line of sight at 40 yards, but if the branch is only 20 yards away your arrow will easily fly over it before it drops toward the turkey. Practicing obstructed shots requires access to a safe practice area with plenty of room in case your arrow is deflected. Recently, many 3-D archery tournaments have started incorporating obstructed shots with boulders or tree branches partially blocking the target. Building a mental picture of your arrow flight gives you confidence that your arrow will hit its mark.

The Long Hold
Waiting for an animal to move into position might require you to stay at full draw longer than is comfortable. You’ll need to keep your pin or aiming point in the right spot without growing tired and starting to shake. You can easily mimic this scenario by holding your shot while practicing in conjunction with a timer. Start short, both in terms of distance and duration. As you get more comfortable, lengthen the time of your hold to 30 seconds, then a minute, eventually building the strength to hold for several minutes. This is a great drill even if you only have 10 yards in your backyard to practice.
You Get One Shot
In hunting, there are no mulligans or redos — you only get one shot. Pick a week and limit yourself to one arrow a day. Pick a distance at random and make the best shot you can. This is a good way to discover what your weaknesses are and what you should practice. Use this time as an opportunity to shoot at in-between distances, instead of always practicing at 20, 30, 40 yards and so on. Taking one shot and calling it a day trains you to make every shot count.
Light and Dark
Some people get in the habit of always practicing at the same time, but the angle and level of sunlight can trick your brain and change the way you aim or perceive the target. More light can make a sight pin seem bigger, while less light makes it difficult for your eye to distinguish the pin against the target. Different light conditions also change the way you perceive distance. Try shooting your bow at various times throughout the day. Shoot toward and away from the sun as well as with the sun from the side. Considering deer and many other game animals are the most active at dawn and dusk, practicing in different light conditions can pay off.
Be Realistic
Three-dimensional deer, turkey or elk targets can be expensive, but they allow you to create realistic hunting scenarios. Shifting the target so it’s quartering away or toward you will teach you where to aim to make an ethical shot. I’ve never seen a deer or turkey with a bull’s eye painted on its vitals. It’s important to develop the ability to know where to aim based on how an animal is positioned. With a realistic target you can recreate all these situations, including shooting from a tree stand and steep downhill or uphill shots. If you don’t have the space or money for a 3-D target, try joining an archery league or shoot a 3-D tournament.
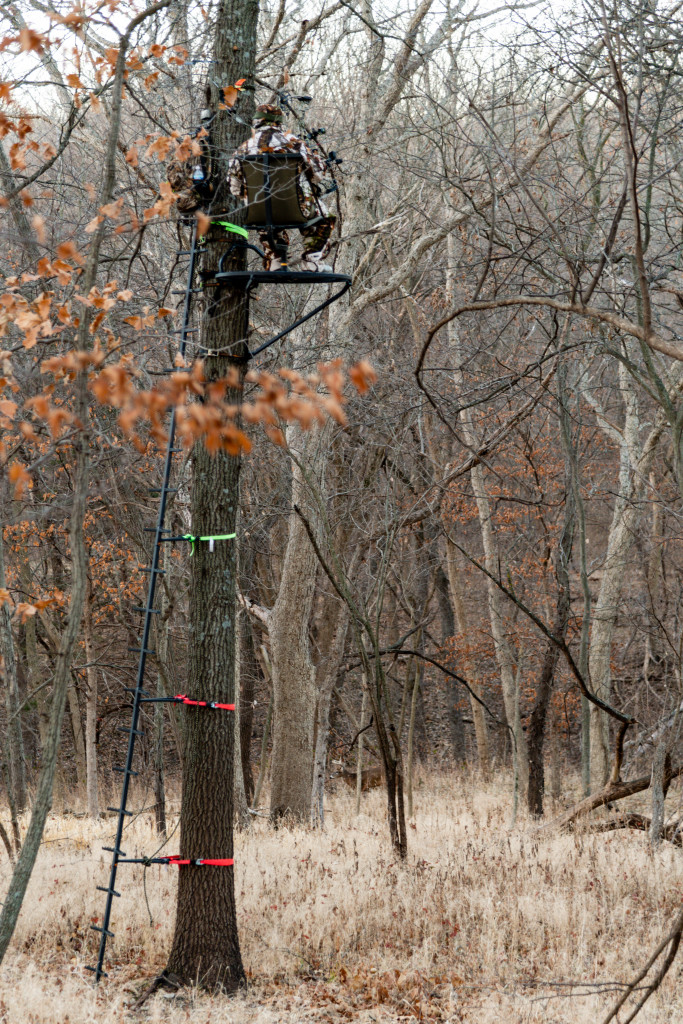
The takeaway to all these tips is to make your practice time as close to hunting as possible. Late-season hunting requires gloves, a face mask and extra layers. Practice with your winter layers to make sure nothing is in the way. If you hunt on foot, practice shooting from your knees, leaning around a tree or raising up from the ground. Shoot in the wind. Practice with your broadheads. Go for a run to get your blood pumping and then take a few shots. This is the type of practice that prepares you for bowhunting. ■
The post Real-World Bowhunting Practice appeared first on Nebraskaland Magazine.


